Planning a Week of Social Content
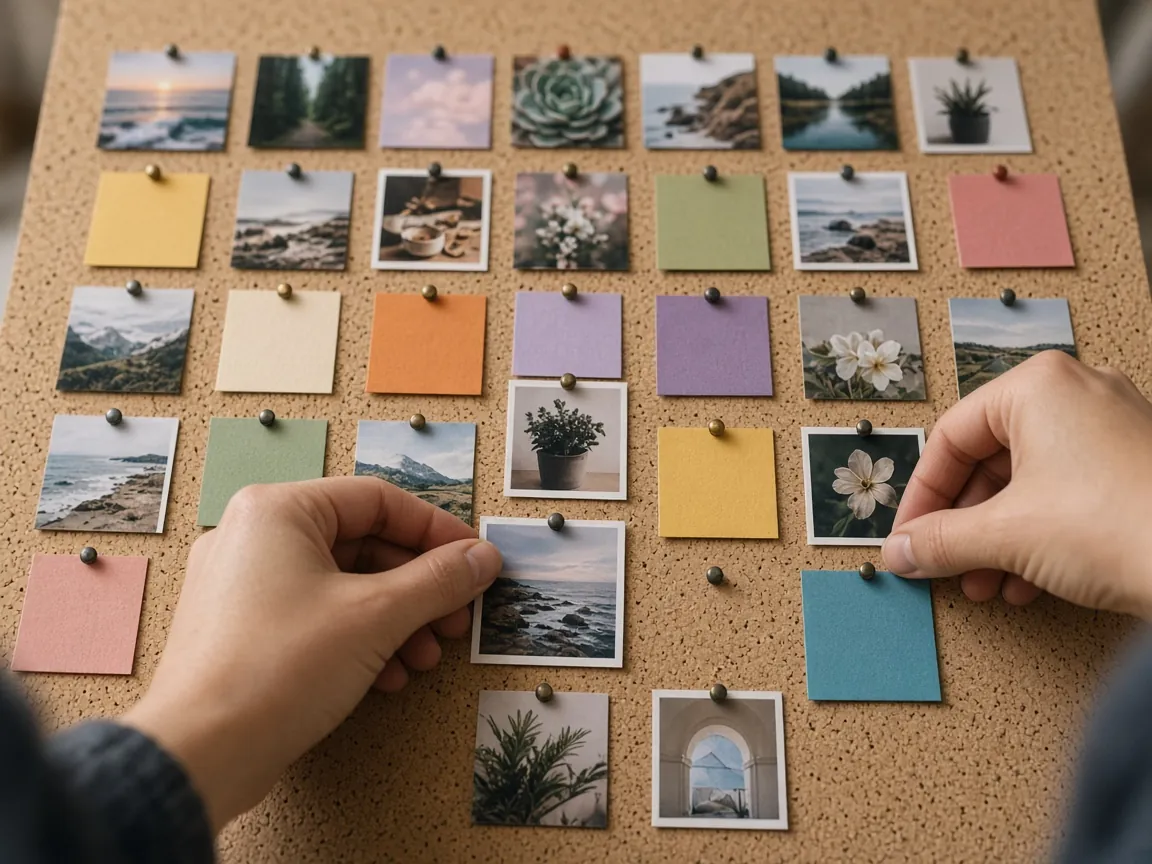
Posting on social media without a plan often means scrambling for ideas at the last minute. Planning one week at a time is a manageable middle ground: far enough ahead to be organized, close enough to stay timely. This guide walks through a repeatable weekly planning routine that takes about an hour.
Before you plan: know your inputs
A good week of social content draws from a few sources you already have:
- Your content pillars, the recurring themes you post about
- Your editorial calendar, including articles, events or launches
- Your idea bank of customer questions and observations
- Photos and short clips captured during normal work
Gather these before you sit down so planning goes quickly.
Step 1: Decide how many posts
Choose a number you can sustain. For many small businesses, three to five posts a week on one platform is a reasonable start. Fewer, better posts usually serve you better than daily posts that feel rushed.
Step 2: Assign a theme to each slot
Give each planned post a pillar and a purpose. A simple weekly pattern might look like this:
- Monday – Helpful tip. A quick how-to from your educational pillar.
- Wednesday – Behind the scenes. A look at how you work or who you are.
- Friday – Highlight. A product, service or event, described honestly.
- Optional weekend post – Community. A question, a local shout-out or a seasonal moment.
This pattern is only an example. Adjust it based on what your audience responds to.
Step 3: Draft captions in one sitting
Write all captions together. This keeps your voice consistent and saves time. For each caption:
- Open with a clear first line that tells people what the post is about
- Keep the main message simple
- Add one specific detail that makes it useful or memorable
- End with an optional, natural next step, such as "save this for later" or a link to the full guide
Accessibility basics
Write descriptive alt text for images when the platform allows it. Add captions to videos so people can follow without sound. Use camel case in hashtags (for example, #SmallShopTips) so screen readers can read them more easily. The W3C's Web Accessibility Initiative offers helpful general writing tips.
Step 4: Prepare visuals
Gather or create the images and clips you need. Keep your colors and style consistent with your brand kit. Natural, real photos of your work often feel more trustworthy than heavily edited images. Always get permission before featuring customers, and avoid sharing private details visible in the background.
Step 5: Check before scheduling
Review each post with a short checklist:
- Are prices, dates and details correct?
- Are any claims accurate and supportable?
- If someone was given a free product or paid, is the relationship clearly disclosed?
- Do links work and go to the right page?
- Does the post follow the platform's rules?
Step 6: Schedule and leave room
Schedule posts using the platform's built-in tools or a scheduler you trust. Leave room for timely, unplanned posts, such as a sudden weather closure or a community event. Planning should support you, not trap you.
Step 7: Reply and reflect
Planning is only half of social media. Set aside a few minutes each day to reply to comments and messages. At the end of the week, note which posts led to questions, saves or conversations, and let that guide next week's plan.
Common mistakes
- Only promotional posts. People follow businesses that also help, teach or entertain.
- Ignoring the first line. Many readers decide from the opening words whether to keep reading.
- Inconsistent visuals. Random styles make your feed harder to recognize.
- Planning but not engaging. Scheduled posts without replies can feel impersonal.
Putting it into practice this week
Block one hour on your calendar, gather your pillars and idea bank, and plan just three posts for next week using the pattern above. Write the captions in one sitting, add alt text, and run each post through the pre-scheduling checklist. After the week ends, note which post started the most conversation and use that clue when planning the following week.
Frequently asked questions
What if something urgent happens mid-week?
Pause or move scheduled posts if they would seem out of place, and post the timely update. Leaving room in the plan makes this easy.
How many hashtags should I use?
It varies by platform and changes over time. Check the platform's current help resources, and use a few relevant tags rather than long lists.
Is it okay to reuse old posts?
Yes, especially evergreen tips. Update details, refresh the image and check that the information is still accurate.
Weekly planning checklist
- I gathered pillars, calendar items and ideas before planning
- I set a realistic number of posts
- Each post has a pillar and a purpose
- Captions are written in my brand voice
- Images have alt text and videos have captions where possible
- Every post was checked for accuracy, disclosure and working links
- I left room for timely posts and daily replies
Keep learning
For guidance on replying to comments and building goodwill, read social media community basics. If you are still deciding where to post, start with choosing social media platforms.
References and further reading
- Writing for web accessibility — W3C Web Accessibility Initiative
- FTC's Endorsement Guides: What People Are Asking — Federal Trade Commission
Links go to independent organizations. BrandwiseMarketing is not affiliated with them. Guidance can change; check the source for the latest version.
General educational information only, not legal, financial or professional advice. Examples are hypothetical. Results from any marketing approach vary and are never guaranteed. See our disclaimer.